Digital painting setup: essential preparation for artists
Choosing a tablet is only one part of building a digital painting setup. The computer it connects to, the driver, the painting software, and the way a canvas is prepared all shape how comfortable the…
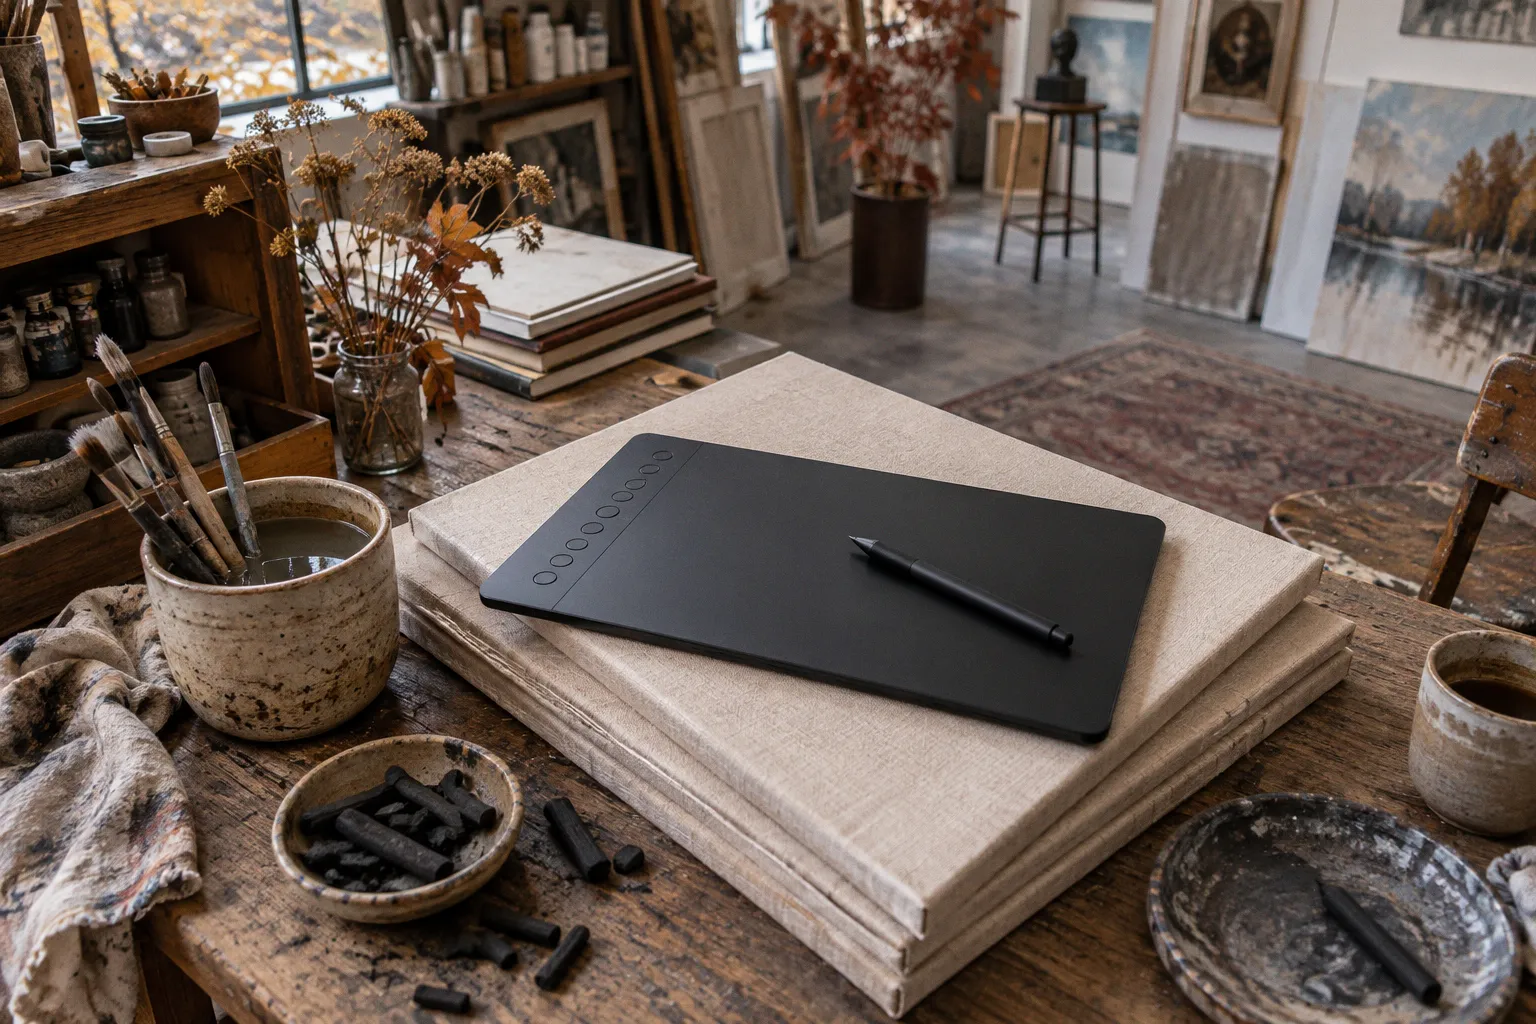
Choosing a tablet is only one part of building a digital painting setup. The computer it connects to, the driver, the painting software, and the way a canvas is prepared all shape how comfortable the work feels—and whether a finished image can move cleanly from screen to print.
For many beginners, an existing computer and an entry-level screenless tablet are enough to get started. The more useful question is not which component is best in isolation, but whether the pieces work together. A modest setup that is configured well is often more productive than a costly one assembled without checking compatibility.
A drawing tablet is not a complete setup on its own. The computer, driver, software, and working habits have to meet in the middle.
Choosing the right hardware: from screenless tablets to standalone devices
Digital painting hardware generally falls into three categories: screenless tablets, pen displays, and standalone tablets. Each suits a different working style. The right choice depends less on a pressure-level number than on where you want the image to appear, how portable the setup needs to be, and what computer or software you already have.
| Parameter | Screenless tablet | Pen display | Standalone tablet |
|---|---|---|---|
| Where the image appears | External monitor | On the drawing surface | On the device’s screen |
| Computer required | Yes | Usually | No |
| Main advantage | Affordable and simple to pair with an existing computer | Direct drawing on screen | Portable, self-contained workflow |
| Main trade-off | Hand and cursor are on separate surfaces | Higher cost and more equipment to manage | Software and file workflow may depend on the device ecosystem |
| Best suited to | Learning digital painting at a desk | Artists who prefer drawing directly on the image | Sketching and painting away from a desk |
A screenless tablet is often a practical first purchase. Models such as the XPPen Deco 01 V3 offer pressure-sensitive input, but the important questions are whether the current driver supports your operating system and whether the tablet’s active area feels comfortable at your desk. Pressure-level specifications can look decisive on a product page; in daily use, a stable connection and a pen response that suits your hand matter more.
The adjustment is real: you draw on the tablet while watching a separate monitor. At first, that can make a line feel less direct than pencil on paper. Most artists adapt through practice, but the time it takes varies. Before assuming the tablet is inaccurate, check that the working area is mapped sensibly to the display and that the pen is calibrated.
A pen display removes that separation by putting the image under the pen. It can feel more intuitive, especially for artists who already work on paper or who prefer a direct line of sight between hand and mark. The trade-off is a larger, more involved setup: the device needs desk space, a connection to a computer, and sometimes a stand or arm. It is worth paying for that immediacy if it improves the way you work, not simply because a built-in screen sounds like an automatic upgrade.
Standalone tablets combine screen, pen, and computer in one device. They are useful for travel and quick studies, but software availability and file handling differ between platforms. If you plan to collaborate with people using desktop applications, or move layered files between devices, check how well the relevant apps export and preserve your working format before committing.
Optimizing your computer for digital painting performance
A dedicated graphics card is not a prerequisite for ordinary 2D painting. Many painting tasks depend on the application, processor, memory, storage, canvas dimensions, and chosen tools working together. The load changes with the file: a small sketch with a few layers is very different from a large illustration with many layers, complex brushes, and several open documents.
That is why a single RAM figure or layer count cannot promise smooth performance for every artist. Memory use depends on canvas size, color depth, software, and the features in use. If a painting application slows down, look at the whole workload before deciding that one component is the cause.
When using an existing computer, consider these areas:
- Memory: More available memory gives the operating system and painting application more room to work, particularly when files are large or several programs are open. If your computer struggles, try closing other demanding applications and checking the painting software’s performance settings before replacing hardware.
- Processor: The processor can affect brush response, filters, transformations, and other operations. A recent everyday computer may be perfectly adequate for learning and making illustrations; a more powerful processor is most useful when your work regularly involves demanding edits or large files.
- Storage: An SSD can make the computer and applications feel more responsive when opening, saving, or moving large documents. Storage speed is only one part of brush performance, though: it does not guarantee a faster stroke in every application or situation. Keep enough free space for working files, autosaves, and backups.
- Graphics: Integrated graphics are sufficient for many 2D workflows. A more capable GPU may matter for specific features, 3D work, or applications that make use of it, but it is not automatically the best place to spend a beginner’s budget.
- Display: A comfortable, well-positioned monitor affects long sessions as much as a specification sheet does. Screen brightness and color appearance can also make it harder to judge a painting, so avoid treating the display as a neutral reference without checking its settings.
Start by testing the computer you already own with the software and the kinds of files you expect to make. If the brush feels delayed, simplify the document and test again: try a smaller canvas, fewer open layers, or a less demanding brush. The result may point to a software setting or a particular workload rather than a need to buy a new graphics card.
Operating system choice also shapes the available tools. Krita runs on Windows, macOS, and Linux. Clip Studio Paint and Photoshop support major desktop platforms, while the exact features and file workflows available on tablets can differ from their desktop counterparts. If you are buying hardware, check the current requirements for the application you intend to use. If you already have a computer, choose software that supports it rather than replacing a working machine just to match a product recommendation.
The correct sequence for driver installation and tablet configuration
A tablet can appear connected and still feel wrong. The cursor may move, but pressure may not register; buttons may trigger unexpected actions; or the pen may behave differently in the operating system and the painting application. Work through the setup in a deliberate order, and test each stage before changing several settings at once.
1. Check compatibility first. Confirm that the tablet model and its current driver support your operating system. Use the manufacturer’s official support page to find the appropriate driver and instructions.
2. Follow the manufacturer’s connection and installation instructions. Some products ask you to install a driver before connecting the device; others use a different sequence. There is no universal rule that every tablet should be plugged in first, so the model-specific directions take priority.
3. Confirm basic input. Once the device is connected, check that the cursor moves and that the operating system recognizes the pen. If it does not, inspect the cable or wireless connection and revisit the driver installation before adjusting pressure curves.
4. Set the tablet’s working area and buttons. Map the active area to the display you use, choose a comfortable orientation, and assign pen or tablet buttons only if they help your workflow.
5. Test pressure inside the painting application. Open its tablet or input settings and make a few strokes with different amounts of pressure. If the application has its own pressure curve or tablet API options, adjust those deliberately and check the result on a test canvas.
On Windows, settings such as Windows Ink can affect how some applications receive pen input. If pressure or buttons behave unexpectedly, check the tablet manufacturer’s guidance and the application’s input settings rather than switching options at random. After a change, restart the application if its instructions call for it, then test again.
Pressure calibration should respond to your hand, not to a universal percentage. A linear curve may feel natural to one artist and too stiff to another. Use a test brush with a visible range of stroke widths, then make small adjustments until light marks and firm strokes both feel controllable. If pressure works in the driver’s test panel but not in the painting program, the issue is more likely to be in the application’s input settings than in the tablet itself.
Driver maintenance is part of using a graphics tablet, especially after an operating-system update. If the pen stops responding, first check whether the manufacturer has updated its driver or published new instructions for that system version. Reinstalling the driver may help, but it is better to follow the vendor’s documented process than to remove components blindly.
Selecting software: balancing open-source tools and industry standards
The best painting application is the one that supports the work you actually want to do and runs well on your device. Brush feel, layer handling, export options, and the ability to exchange files with collaborators often matter more than a long list of features.
| Software | Cost model | Platforms and workflow | A useful reason to choose it |
|---|---|---|---|
| Krita | Free and open source | Desktop use across Windows, macOS, and Linux | A capable place to learn raster painting without a subscription |
| Clip Studio Paint | Paid options vary | Desktop and selected tablet workflows | A strong fit for illustration, comics, and vector-based linework |
| Adobe Photoshop | Subscription | Desktop and selected tablet workflows | Useful when a project or studio already relies on Adobe tools |
| Procreate | Paid app | iPad | A focused painting workflow for artists already using an iPad |
Krita is a sensible starting point for many beginners. It has a substantial brush engine and supports layered painting without asking the artist to commit to a subscription. Its native project format preserves the editable document, while exports such as PSD can help with exchange. File compatibility is not always perfect between applications, so treat an exported PSD as a handoff format to test—not as a guarantee that every effect, mask, or layer property will transfer unchanged.
Clip Studio Paint is worth considering when the work leans toward comics, illustration, or expressive inking. Its vector layers and drawing tools serve different needs from a general raster workflow. Before choosing a purchase option, check the current terms for the platform you plan to use; availability and licensing can change.
Photoshop remains common in studios and collaborative pipelines, particularly where PSD files and Adobe-specific tools are part of the work. A beginner who simply wants to paint does not necessarily need it. But if a client, teacher, or collaborator works in Photoshop, that compatibility may be a more practical reason to use it than any claim that one brush engine is universally better.
Procreate is designed for iPad and can make a portable setup feel immediate. Its platform limitation is important if you need to work across devices or depend on software unavailable on iPad. Before building a workflow around it, check the export options you need and test a sample file in the applications you expect to use later.
Start with the application that fits your current device and working needs. You can change tools later; a clear, editable source file makes that change easier.
Preparing your digital canvas for high-quality fine art printing
Print preparation begins before export, but there is no single file recipe that suits every print service. The required dimensions, resolution, color profile, file format, and submission method depend on the printer and the intended output. Ask the service for its current specifications before settling your canvas settings.
A few decisions deserve attention early:
- Canvas dimensions: Set the document to the intended print size where possible. If you know the target dimensions and the service’s recommended resolution, create the canvas accordingly. Enlarging a small image later can soften detail; the effect depends on the source artwork and how much it needs to be enlarged.
- Resolution: A resolution value in the document is meaningful in relation to its pixel dimensions and intended physical size. A number such as 300 DPI is not a universal quality switch. Follow the service’s guidance for the format and print process it uses.
- Color depth: Higher bit depth can preserve more tonal information during editing, which may be useful for smooth gradients and substantial color adjustments. It also affects file size and software compatibility. Keep the working file in the depth that suits the project and confirm what the print workflow accepts at delivery.
- Color profiles: Ask which profile the service recommends and whether it provides a profile for a particular printer or paper. A profile helps describe how color is represented; it cannot make a screen and a print display colors identically. Keep a copy of the layered source document before making a delivery version.
- Export format: Some services accept TIFF or PSD; others request a different format or have specific instructions for flattened files, transparency, or compression. Match the delivery file to the service’s requirements rather than assuming one format is always preferred.
- Proofing: If color-critical results matter, use the service’s proofing guidance or request a proof when available. A screen preview is useful, but it does not reproduce every characteristic of the paper, ink, or printing process.
JPEG is not automatically unsuitable for print. Its effect depends on the export quality, image content, dimensions, and the printer’s workflow. Repeatedly saving a JPEG can introduce additional compression, particularly around fine details and smooth transitions. If the service accepts a lossless format and you want to preserve a clean master, keep an uncompressed or losslessly compressed version as your source and export a separate delivery file to the requested specifications.
Likewise, an 8-bit sRGB document is not inherently a poor print file. It may be entirely appropriate for a service that requests it. The practical risk is a mismatch between the working file and the print provider’s instructions, or an export that changes color or introduces avoidable compression. When in doubt, make a copy of the source file, export a test, and ask the printer to confirm that the file meets its requirements.
Keep the editable painting separate from the delivery copy. A KRA, CLIP, PSD, or other native file can preserve layers and project-specific information; the print file can be flattened or converted if the provider asks for it. That separation makes corrections easier and prevents a submission step from becoming the only surviving version of the work.
Print specifications belong to the print service, not to a universal rule. Prepare the canvas with the final output in mind, then export to the instructions for that job.
The most useful digital painting setup is not necessarily the most expensive one. It is a compatible arrangement that feels comfortable, handles the work you want to make, and leaves room to revise a file when the workflow changes. Start with the computer and software you already have, check the tablet’s driver support, and test pressure in the application before buying upgrades.
For print, keep the master editable and confirm the service’s specifications before export. A good workflow leaves fewer surprises between the first brushstroke and the finished image—and gives you a clearer idea of which upgrade, if any, would actually help.