Intensive painting workshops: hidden costs and time traps
The tuition is the number we notice first, and often the number that makes an intensive painting workshop seem possible.
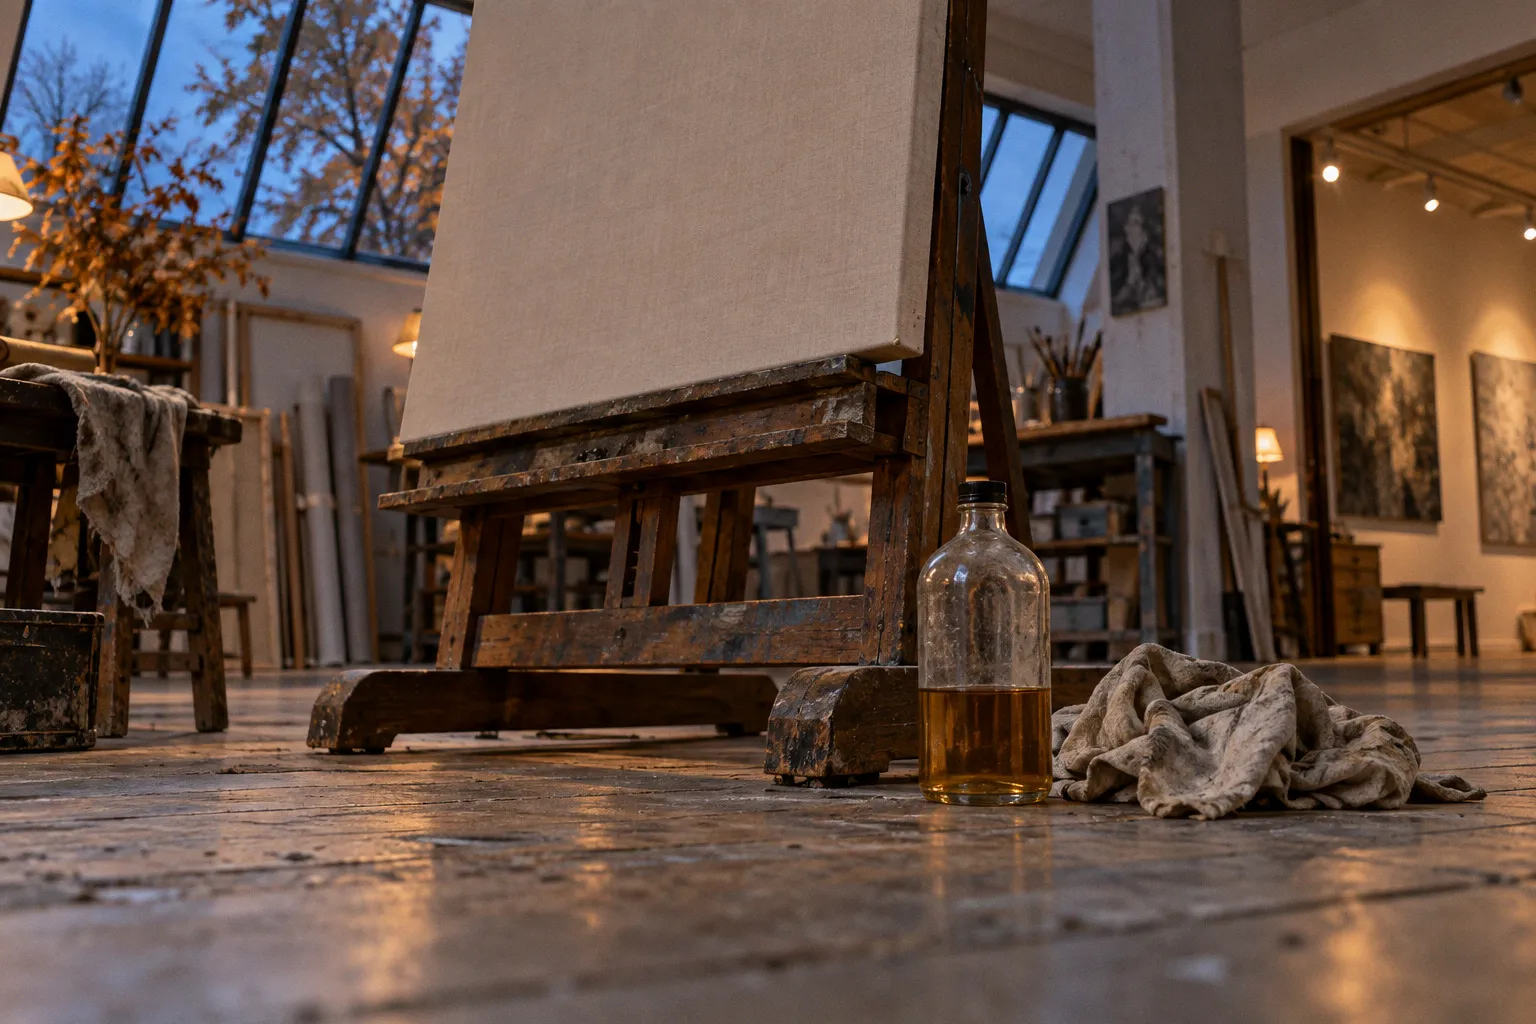
Then the materials list arrives: paints, canvas, brushes, mediums, perhaps a sketchbook you already own but not in the format the instructor requires. Add a model fee, framing, travel, and the hours spent getting wet work safely home, and the real price of the course can look very different from the one on the booking page.
That doesn’t mean a workshop is poor value. A concentrated stretch of teaching can move your painting forward in ways that scattered practice rarely does. But we need to judge the whole experience, not just the fee at the top of the page. A clear budget is part of making good work: it lets you spend your attention on seeing, mixing, and pushing values instead of discovering an avoidable expense halfway through the week.
The true price of tuition: beyond the base fee
A course fee usually pays for some combination of instruction, studio access, and organization. It does not automatically include the materials you’ll use to make the work. In an intensive class, that distinction matters because the supply list may ask for more than a few replacement tubes: several supports, a particular ground, paints in a specified palette, mediums, drawing materials, and tools for cleaning or storage.
The gap can be substantial. One example in the available course information puts a $250 painting class alongside an additional $200–$240 in supplies. That is not a universal ratio, and your actual costs will depend on what you already own, what the instructor requires, and whether you can use materials again afterward. But it is a useful reminder: the advertised tuition may represent only part of what you need to pay in order to participate as intended.
Before you book, separate the list into three piles:
- Required for the exercises: the colors, surfaces, or tools without which you cannot follow the class.
- Substitutable: items where an equivalent size, brand, or material may work, provided the instructor agrees.
- Useful but optional: extras that may make the studio day more comfortable without changing the learning objective.
Then ask the instructor or organizer to clarify any vague terms. “Bring oils” could mean a compact palette or a long list of specific pigments. “Canvas provided” might mean one prepared surface, not enough supports for every study. A materials list is most useful when it gives quantities, sizes, and whether each item is essential; if it doesn’t, a short question before enrollment can save both money and the embarrassment of arriving under-equipped.
We also need to distinguish a genuinely economical course from one that simply moves the costs out of sight. A lower fee can be a good deal if you already have the materials and the teaching is the right fit. It is not necessarily a bargain if the required supplies are expensive, the studio is far away, or the course expects you to purchase a full new setup for a few days’ work.
The useful price is not the tuition alone; it is the cost of arriving ready to paint and getting the work safely home.
For a first pass, write down the likely total before paying a deposit: tuition, materials you must buy, model or studio charges, travel, accommodation if needed, and the cost of transporting finished work. Leave room for small consumables and replacement supplies. The point is not to predict every brush that might need replacing; it is to stop a low headline price from making the decision for you.
Accounting for live models and studio overhead
A live model changes the rhythm and the economics of a workshop. The pose is not a prop that can be left on the easel until next week: it is paid working time, arranged around the class schedule, and often shared among several students. When the course includes life drawing or painting from a model, the fee may be included in tuition or charged separately. Neither arrangement is inherently better, but you should know which one you are signing up for.
Ask how the model time is structured. A short pose, a sequence of changing poses, and a sustained pose support different kinds of looking. If the aim is to build a figure in paint, a long pose gives you time to compare angles, place the large masses, and return to the same relationships as the painting develops. If the session is built around gesture and rapid studies, many short poses may be exactly right. The question is not simply whether a model is present, but whether the setup serves the stated teaching goal.
Model costs vary by location and studio, so there is no reliable universal figure to insert into your budget. That is why the course description should say whether the fee is covered, whether an additional charge is expected, and whether the model sessions are optional. A course that leaves this unstated makes comparison harder: two apparently similar tuition prices may include very different amounts of paid studio time.
There can be other overheads, too. A studio may supply easels and lighting but expect you to bring a palette, rags, or a suitable container for waste. A destination workshop may use a shared space with limited storage, which affects what you can bring and how you set up between sessions. These practical details shape the actual hours available for painting. If the first morning is spent finding a place for wet canvases or improvising a workable palette, the course has already charged you in time.
A good organizer will make the boundaries legible. Before enrolling, look for a direct answer to these questions: Is the model fee included? Are surfaces supplied, and how many? Is there a shared solvent or cleanup arrangement? Can work remain in the studio overnight? The answers help you assess the workshop as a whole rather than treating every additional cost as an unpleasant surprise.
Navigating travel restrictions for liquid art supplies
Travel adds a different kind of constraint: what you can carry may not be what you need at the easel. If you’re flying, liquids in hand luggage are restricted. The stated limit is a maximum of 100 ml per container, with containers fitting inside one transparent bag of no more than 1 litre in total capacity. That gives you a packing boundary, not permission to assume that every art medium or solvent will be accepted. Paints and solvents can be subject to airline and security restrictions, so check the current rules for your route and carrier before packing.
This is where a materials list needs to meet a travel plan. A painter who works with oils may use several liquid products at home, but carrying a familiar studio setup in cabin baggage may not be practical. Don’t build your plan around squeezing every bottle into the permitted bag. Instead, ask which materials are essential for the workshop and whether the organizer can recommend an approved local source or a workable alternative. If you’re unsure about a product’s classification, confirm it with the airline or relevant security authority rather than relying on another traveler’s packing story.
Think about the rest of the kit as well. Tubes, palette knives, brushes, and supports take up space, and the shape of your luggage can matter as much as its weight. A compact travel kit can reduce the chance of arriving with a beautiful collection of supplies that has no safe place to go. It may also make sense to pack only the colors and tools required for the workshop’s exercises, rather than bringing every option you own.
The most comfortable preparation is often the least dramatic: identify restrictions early, make a short list of what must travel with you, and arrange the rest before departure. That might mean buying suitable materials at the destination or asking whether the studio provides certain basics. Either way, resolve the question before the course begins. You want to spend the first session pushing values and carving out forms, not bargaining with your luggage.
Wet canvases, solvents, and the time cost of logistics
Paintings don’t always dry on the workshop timetable. With oil, a surface that looks ready to handle may still be vulnerable to smudging, dust, pressure, or contact with another canvas. If the course ends before the work is dry, getting it home becomes part of the project. A wet canvas cannot simply be slid into a stack with your clothes and expected to emerge untouched.
Ask the organizer what painters typically do with work at the end of the course. Some workshops can store paintings briefly; others may have no secure space once the studio closes. If you need to travel immediately, find out whether there is room to carry work upright and separated, or whether advance shipping is an option. Shipping can require planning and additional expense, and the exact cost will depend on the size, destination, packing, and service. There is no universal fee to budget against, so get a specific estimate before relying on it.
Solvents need their own plan, especially when you’re combining studio habits with air travel. Do not assume that the containers you use at home can travel in your hand luggage or checked baggage without restrictions. A travel kit designed for the journey, materials sourced locally, or an adjusted painting method may be safer than trying to transport a full set of liquids. Watercolor painters face a different version of the same problem: a palette can be allowed to dry before travel, then reactivated at the studio, but that approach only helps if it suits the exercises and the paints you use.
The hidden cost here is measured in attention as well as money. Packing paintings, finding protective boards, arranging collection, and working out where to store supplies can consume the very evenings you expected to use for reviewing the day’s work. Build those tasks into your plan instead of treating them as an afterthought. If you have several canvases, decide in advance which studies are worth carrying back and which can be photographed or left behind with the organizer’s permission.
For a destination workshop, make a small logistics map on paper: what travels with you, what you can buy there, what stays in the studio, and how each finished piece will leave the room. It sounds modest, but that decision can prevent a final-day scramble in which careful paintings are wrapped too soon, packed against hard objects, or left without a clear route home.
The hidden financial impact of framing
Framing often arrives after the painting itself feels finished, which is why it can escape the original budget. A frame may be necessary for a particular exhibition or presentation, but it is not a neutral add-on: its cost changes the economics of the work. If you add framing expense directly to a painting’s price without accounting for gallery commission, the amount left to you can shrink.
That matters even when a workshop is not explicitly about selling. You may leave with a study you want to exhibit, gift, or present professionally. The frame’s size, materials, and finish affect the final cost, and a larger work can be more demanding to transport once framed. If the course includes a public showing, ask whether works are expected to be framed and who pays for that preparation. If framing is optional, find out whether the studio or organizer has display alternatives.
It is sensible to treat framing as a separate decision rather than assuming every workshop painting needs a finished frame. Some studies are valuable as learning records, even if they never leave the studio. Others may be worth preparing for display. The choice depends on the painting’s purpose, not simply on the fact that it was made during a professional course.
For artists who price work, calculate the frame before setting the final figure and before agreeing to any commission arrangement. Adding the frame to the price after the selling terms are fixed can leave you absorbing more of the cost than you intended. For students, the same principle applies in a gentler form: if you know a work will need framing to meet the workshop’s presentation requirements, include it in the total course budget rather than discovering it when the painting is already complete.
Make the workshop fit the work you want to do
A strong intensive course gives you more than a packed schedule. It gives you a structure in which you can work with sustained attention: enough time to make decisions, enough guidance to see what is failing, and enough practical support that the studio setup doesn’t keep pulling you away from the painting. Hidden costs and time traps don’t make a workshop a bad choice, but they can obscure whether it is the right choice for you.
Before you commit, compare the full cost and the working conditions, not just the tuition. Find out what materials are required, how model fees are handled, what travel restrictions apply, and what will happen to your work at the end. Then ask the most important question: does this course give you the kind of painting time and instruction you actually need?
When those answers are clear, you can arrive with your attention intact. The budget has a shape, the kit has a purpose, and the painting—not the packing problem—gets to occupy the center of the week.