Foreshortening in figure drawing: managing depth and distortion
A reaching hand can look larger than the arm behind it; a thigh pointed toward you may appear startlingly short. Put those forms on paper and the drawing can feel wrong even when every line seems plausible.
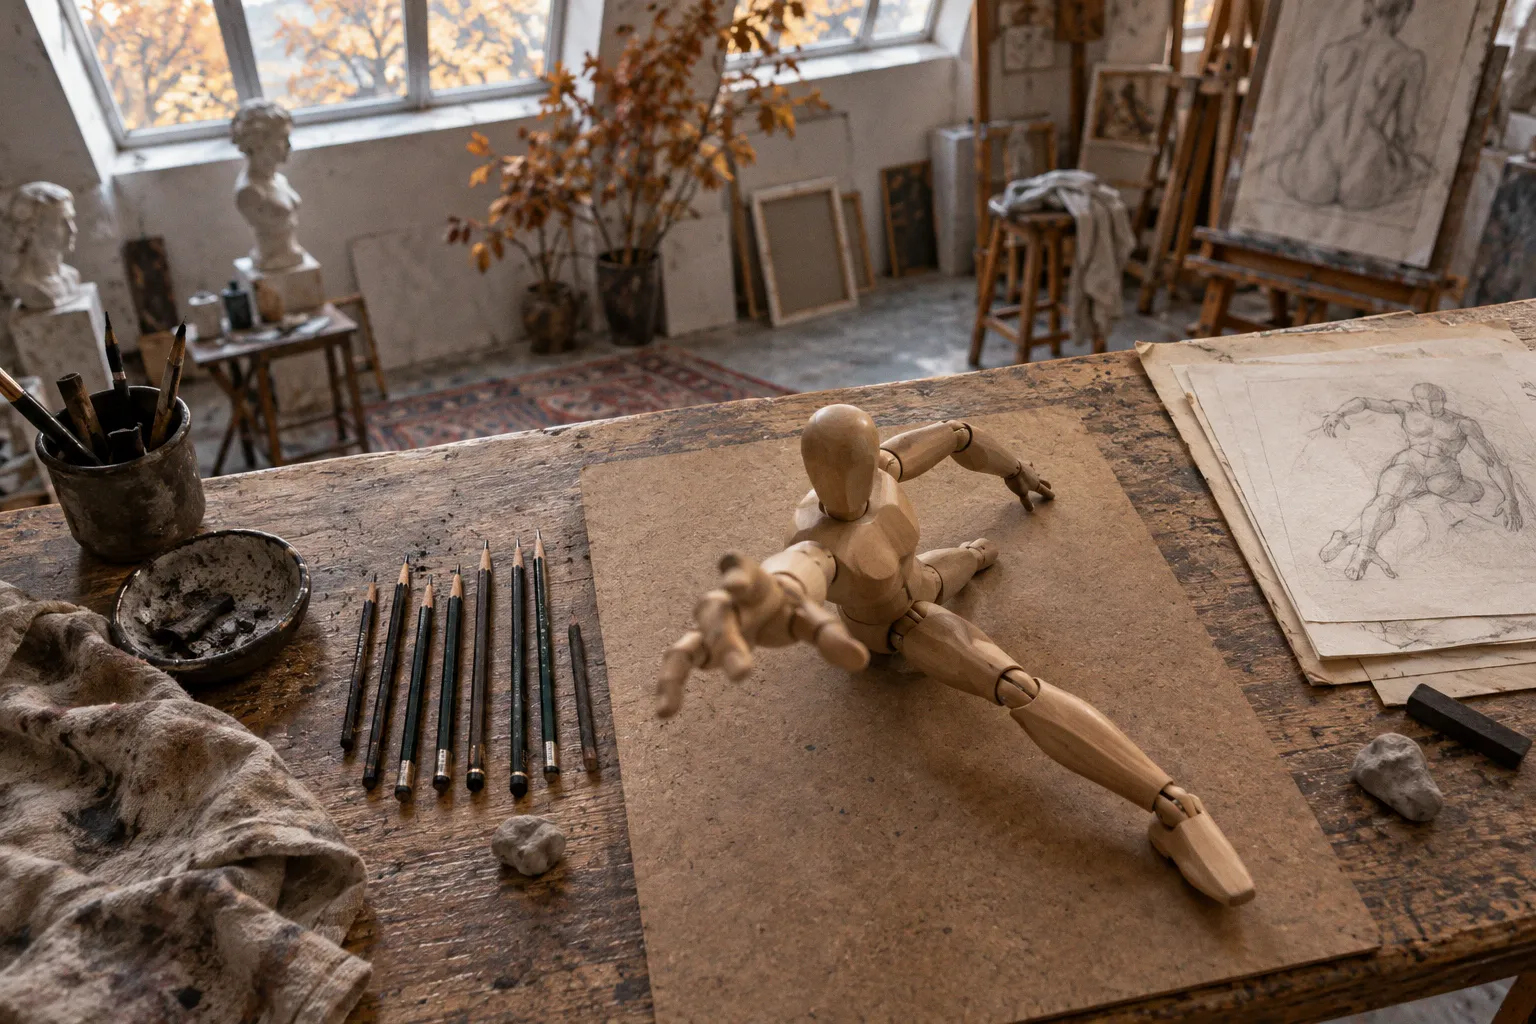
The eye sees compressed lengths and overlapping shapes, while the mind supplies the familiar body it expects to see. That quiet correction is one reason foreshortening is so difficult—and why a limb can end up looking like a stubby tube attached to a flat torso.
Foreshortening techniques in figure drawing are not an optional polish. They are how a figure comes to occupy space on a two-dimensional surface. The useful shift is simple to state, though not always easy to make: trust the visible relationships between shapes more than your memory of how long an arm or leg ought to be.
The challenge is not to make a limb look anatomically familiar. It is to make its position in space convincing.
The psychology of perception: why our brains flatten the figure
When a leg points toward us, its image is compressed along its length. The visible shape may be short and broad, and partly hidden by the knee or foot. But our memory of a leg is often a long shape seen in profile. Faced with that mismatch, the mind tends to supply the familiar length. The result can be anatomically legible in isolation and still feel as though it lies flat against the page.
This is one of the central foreshortening anatomy challenges: the apparent measurement is not the measurement we expect from the body part. A forearm pointing into the picture may occupy less space on the page than the hand in front of it. A foot turned toward the viewer may show its broad end while concealing much of its length. If the drawing restores the familiar proportions, it can weaken the pose’s depth.
A quick gesture sketch can sometimes preserve that depth better than a slow, careful rendering. Not because speed is a magic cure, but because a quick pass encourages you to register the large angles and proportions before you start explaining the body to yourself. With prolonged looking, it is easy to replace the observed shape with the shape you think should be there. Stepping back from the easel can reveal that the figure has gradually flattened—not on the paper, but in the decisions made while drawing.
The answer is not simply to try harder to trust your eye. Give the eye a more useful task. Compare the visible lengths, angles, overlaps, and widths. Treat the figure first as a set of forms occupying space, then let your knowledge of anatomy refine those forms. This approach is especially helpful when drawing human limbs in perspective: rather than asking how long the arm is in life, ask how much of it is visible from this viewpoint.
Constructing with primitives: cylinders, boxes, and the coil method
A practical way to study how to draw foreshortened figures is to reduce them temporarily to simple volumes. Before drawing the forearm’s contours, block in a tapered cylinder or a box-like form. Treat the foot as a wedge. For a twisting torso, use separate masses for the chest and pelvis, then make their different angles clear. These are not substitutes for anatomy. They are a way to make direction and depth easier to see.
This geometric construction is a modern drawing exercise, not a documented claim about how Renaissance artists worked. It lets us look at a figure as a sequence of volumes and ask which one faces us, which one recedes, and where they overlap. The method is deliberately plain: if the pose does not read as a few simple forms, detailed anatomy and polished shading are unlikely to rescue it.
Three basic forms cover a great deal of ground in life drawing:
- Cylinder: useful for arms, legs, and fingers, especially when you need to show a limb’s direction or taper.
- Box or rectangular prism: useful for the chest, pelvis, foot, or skull, where a clear front, side, and tilt help establish orientation.
- Coil or sausage form: useful for a continuous twisting mass, such as a turning torso or a finger curled through space.
Think of these as working models, not rigid templates. A cylinder can clarify the direction of a thigh, but it will not explain the knee on its own. A box can establish the tilt of the pelvis, but the living form needs softer transitions. The aim is to get the large spatial relationships right before adding the smaller anatomical ones.
Try a short exercise at the start of a drawing session: make a few studies using only these primitives. Leave out facial features, muscles, and tonal rendering. Mark the axis of each limb, the tilt of the torso, and the overlaps. Then compare the major angles and apparent lengths with the pose. If the volumes feel misplaced, adjust them before tracing a more elaborate contour.
When one form passes in front of another, make that overlap clear. The shoulder may cover part of the chest; the knee may interrupt the line of the thigh; the hand may obscure the wrist. Those intersections help the viewer understand which plane is nearer. They also give you a practical way to judge the drawing: if the overlaps are confusing, the underlying spatial order probably needs attention.
The power of cross-contours over tonal shading
Shading does not fix foreshortening. A carefully rendered foot can have subtle shifts from light to shadow and still sit awkwardly in space if its direction and proportions are wrong. Tone can describe illumination and surface, but it cannot replace a sound construction.
Cross-contours help make the construction visible. A contour traces the outside edge of a form; a cross-contour travels across its surface, showing how that surface turns. Imagine a line wrapping around a thigh. Its curve and angle can suggest whether the thigh faces toward you, turns away, or slopes across the picture plane. On a forearm, cross-contours can clarify the change in direction between elbow and wrist. They make depth readable without relying on shadow.
For a foreshortened form, the outer edge alone is often ambiguous. A short shape could be a short limb, or a longer limb aimed toward the viewer. Cross-contours, combined with overlaps and changes in width, help resolve that ambiguity. They are particularly useful in line studies, where shading has not yet been introduced to distract from the structure.
| Drawing tool | What it describes | What to watch for |
|---|---|---|
| Outer contour | The visible edge and silhouette of a form | A convincing silhouette does not necessarily establish depth |
| Cross-contour | The turn and direction of the surface | Its curve should follow the form, not sit on it like a stripe |
| Tonal shading | Light and shadow across the surface | Useful after the form is clear; not a repair for incorrect structure |
When a limb feels wrong, pause before reaching for the blending stump. Check the axis, the visible length, the overlap, and the way the form turns. A few light cross-contours may reveal more than another layer of shading. If the figure reads spatially in simple line, tonal work has something solid to describe.
Maintaining the fixed viewpoint: the secret to spatial accuracy
Foreshortening depends on viewpoint. Change where you are looking from and the apparent lengths, angles, and overlaps change too. For a sustained drawing, choose a position and return to it consistently. Keep your head at a steady height, and avoid leaning sideways or shifting around to inspect one part of the pose from a different angle.
This does not mean you must freeze uncomfortably at the easel. It means that measurements gathered from one position should be compared with the drawing from that same position. If you take a sighting with the model in view, then move before marking the angle, you are no longer working with the same projection. A small change in viewpoint can matter most when a hand, foot, or limb points directly toward you.
The sighting method gives you a way to make those comparisons. Hold a pencil at arm’s length, keep your elbow steady, and compare one apparent length or angle with another. For example, you might compare the visible forearm with the head, or note the angle of a foot against a horizontal reference. These are not measurements of the body in the abstract; they are relationships observed from your position. They remain useful only while that position stays consistent.
Photographs offer a fixed viewpoint, which can make them useful for studying a particular projection. But a flat image also removes the experience of moving around a form and testing what changes. In a life-drawing session, hold one seat or standing position long enough to develop a consistent reading of the pose. You can still shift between studies; just avoid mixing observations from different viewpoints within a single drawing.
A small sequence of checks helps keep the drawing anchored:
1. Mark the overall direction of the pose before measuring individual limbs.
2. Compare apparent lengths and angles from one steady position.
3. Note which forms overlap, and how much of each form remains visible.
4. Return to the same viewing position when checking the drawing.
5. If you deliberately change position, treat it as a new observation rather than quietly combining it with the old one.
Lessons from the masters: analyzing Mantegna and Michelangelo
Historical paintings reward close looking because they make spatial problems visible in a concentrated way. Andrea Mantegna’s The Mourning over the Dead Christ (c. 1480) is a striking example. The body lies on a slab, and the feet are strongly foreshortened toward the viewer. They are notably reduced in apparent length, not dramatically enlarged beside the head. The torso recedes toward the upper part of the composition, and the head appears relatively small within the perspective of the body.
That relationship is worth observing carefully. If the feet were drawn at their familiar, full length, the viewpoint would lose much of its force. If they were enlarged without regard to the rest of the body, the pose would become a different kind of distortion. Mantegna’s composition makes the viewer work through compressed forms and overlaps to read the recumbent figure as a body extending into space.
We can use geometric language to study the painting now: block the torso as a receding mass, treat the feet as compact forms in the foreground, and trace how the visible shapes overlap. That is a useful exercise for a contemporary artist, but it should not be mistaken for evidence that Mantegna worked from boxes and cylinders. The painting gives us the result to analyze; it does not document the precise construction method behind it.
Michelangelo’s Sistine Chapel frescoes (1508–1512) offer another kind of study. The figures twist, turn, and project through space at a scale very different from a small life drawing. In the ignudi, the prophets, and the Creation of Adam, look at how torso and pelvis change orientation, and how limbs overlap or foreshorten within the larger pose. The anatomical detail and the painted surface are inseparable from the spatial design, but a student can temporarily set those details aside and study the underlying directions and masses.
That separation is a tool for looking, not a claim about the artists’ studio procedures. We can simplify a complex figure into boxes, cylinders, or axes because doing so helps us understand what the image is asking us to see. The historical work remains more than its construction diagram: gesture, expression, rhythm, and composition all matter. But studying the geometry can make the depth easier to read, and easier to carry back to the easel.
Simplifying a masterwork into volumes is a way to study its spatial logic—not proof of how its maker constructed it.
Bringing depth back to the easel
When a foreshortened pose starts to resist you, work from the largest relationships toward the smallest. Establish a steady viewpoint. Mark the gesture and the main angles. Block the chest, pelvis, and limbs as simple masses, then clarify which forms overlap. Add cross-contours where the surface’s turn is hard to read. Save detailed anatomy and tonal rendering for the moment when the figure already occupies space.
This order will not make every pose easy. Some angles hide the landmarks you rely on; some overlaps make a limb’s direction hard to judge; and a hand aimed at the viewer can be difficult to compare with the arm behind it. Those are not signs that you should force the drawing back toward familiar proportions. They are invitations to measure the visible shapes again and simplify the problem.
Foreshortening techniques in figure drawing are not separate from learning to draw the body. They are one way of learning to see it in space. A limb that looks unexpectedly short may be exactly what the viewpoint demands. Start with its apparent length, give it a clear direction, and let overlaps and cross-contours explain the turn. Geometry is not the opposite of anatomy; it gives anatomy a place to live.